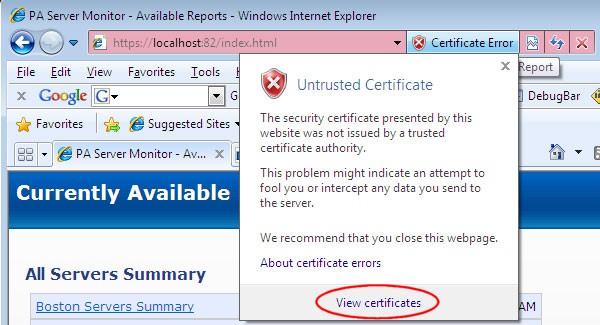
The most common type of credential is X.509. When you create a secure service for your customers, you must specify the certificate to be used as a service or client reference through SetCertificate. However, these methods require various parameters. You can clearly see how to view certificates using snap-in by watching the demonstration below. Follow these steps to view your certificates in the MMC snap-in.
Step By Step: How To View Certificates with MMC Snap-In
1. Start > Run > Type ‘Command Prompt’ and click OK.
2. Type ‘MMC’ in command prompt and press the ENTER key.
– Note: You must be an administrator of the local machine to view the certificate details.
3. Select Add/Remove Snap-in on the File to proceed further.
4. Select Add.
5. Now select Certificates from Add Standalone Snap-in box.
6. Then click Add.
7. Now click onto the computer snap-in dialog box and then select the computer accounts.
8. Then click Next.
– If you’re not an administrator of the local computer then you can only manage the certificates for the user accounts, for which you have to click on My User Account or Service Account.
9. Now in Select Computer, click Finish.
10. Close the Standalone Dialog Box and press OK on the Add/Remove Snap-in dialog box.
11. Now, click the Certificates in Console Root. Then you can see your certificates.
12. You can save this certificate by File > Save As so that you can use it later.

How to View Certificates with Internet Explorer
You can also view, import, export and/or delete these certificates with Internet Explorer.
1. Click on Internet Explorer and go to Tools.
2. In Tools, click on Internet Options.
3. In the Internet Option Dialog Box, click on the Content tab.
4. Here you can see the Certificates Option; click on that.
5. To view the certificates, you can select the certificates you want to view, and click View.
In both ways, you can view the certificates and verify your certificates to access the full functionality of the Microsoft Corporation.


